When I’m not painting or creating, I’m reading, running, hiking, or backpacking. This is the playlist about some of those things.
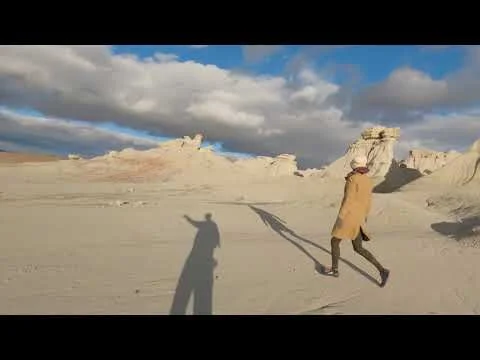
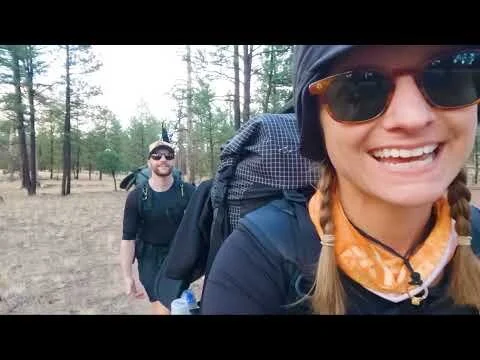
When I’m not painting or creating, I’m reading, running, hiking, or backpacking. This is the playlist about some of those things.
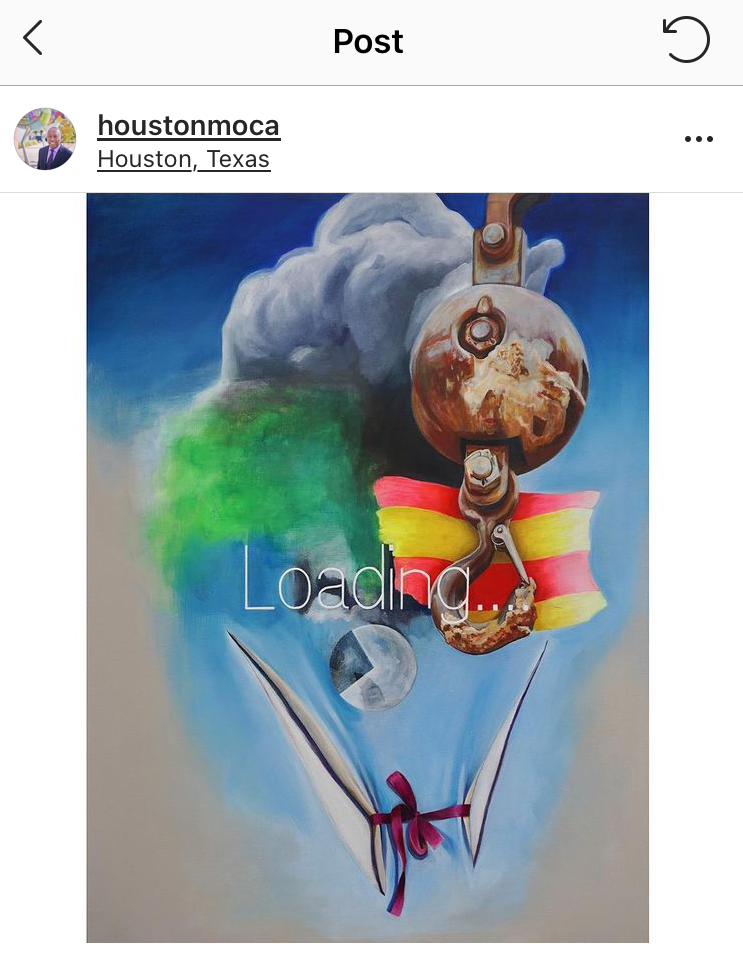
“I am very excited to be one of the 74 artworks accepted for this collection! Check out the press release and links to more information below.”
August 23, 2021 -- Houston Airports, with the support of the Mayor’s Office of Cultural Affairs (MOCA), has made its largest one-time art acquisition that will be installed at Houston’s award-winning, four-star George Bush Intercontinental (IAH) and William P. Hobby Airports (HOU). The investment was directly made using Houston Airports’ Enterprise Fund – a non-taxpayer, self-sustaining revenue source.
“Art helps to define a city, and this is an important investment in our creative community,” said Houston Mayor Sylvester Turner. “This is the largest number of artworks the City has acquired, at one time, in its history, and, we will explore future opportunities to add artwork from Houston artists into the Civic Art Collection at Houston Airports.”
The selection of these 74 artworks underwent one of the most competitive processes to date. Eligibility for this opportunity was opened to include artists across the state to represent the diverse creative communities active in Houston and in Texas.
“The City's Civic Art Collection featured in Houston's Airports now includes the work of legendary Texas artists which truly reflects the artistic and cultural essence of our city and our state,” Houston Airports Director Mario Diaz said. “But more importantly, it adds artworks from underrepresented artists and showcases Houston’s airports as global air-service gateways.”
A committee of art professionals, artists and departmental representatives reviewed over 670 applications from artists across the state of Texas offering ready to hang “portable” artworks for Houston Airports to purchase. “Portable Works” are artworks that are not permanently sited and will be curated to enhance the aviation experience for passengers.
THE MOVING CAMERA
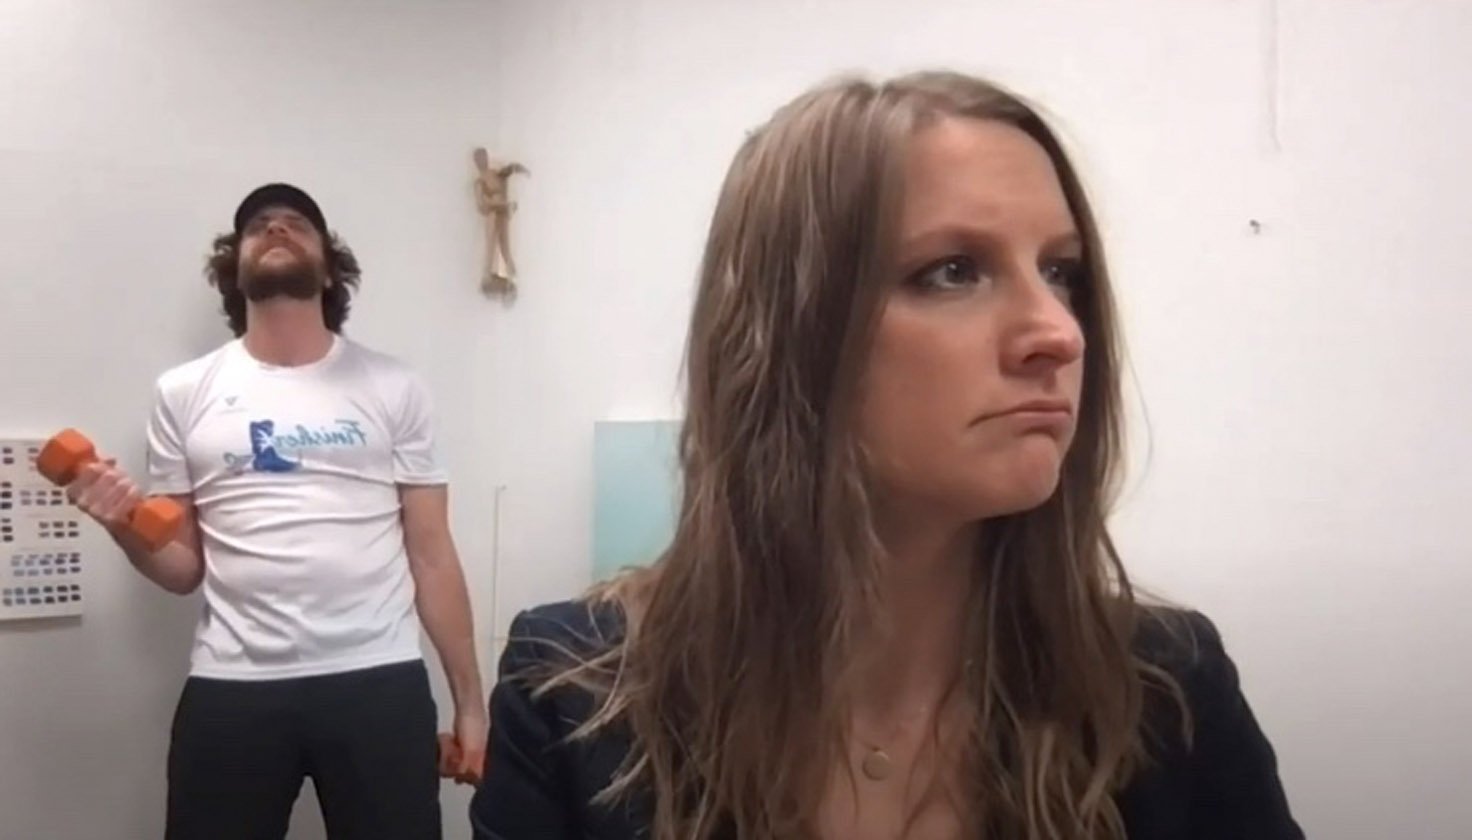
THE OTHER PERSON IN THE ROOM
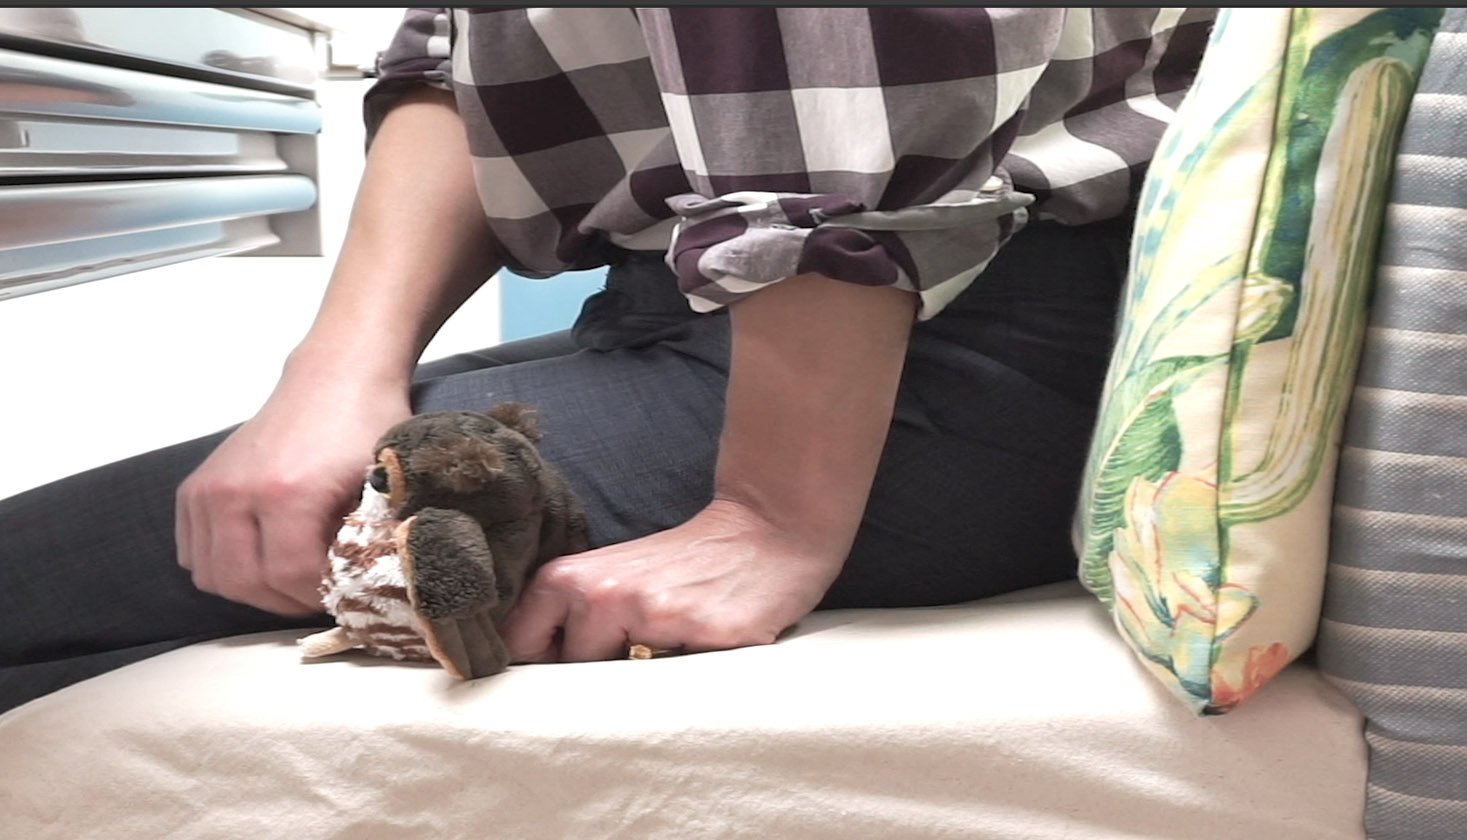
THE PET
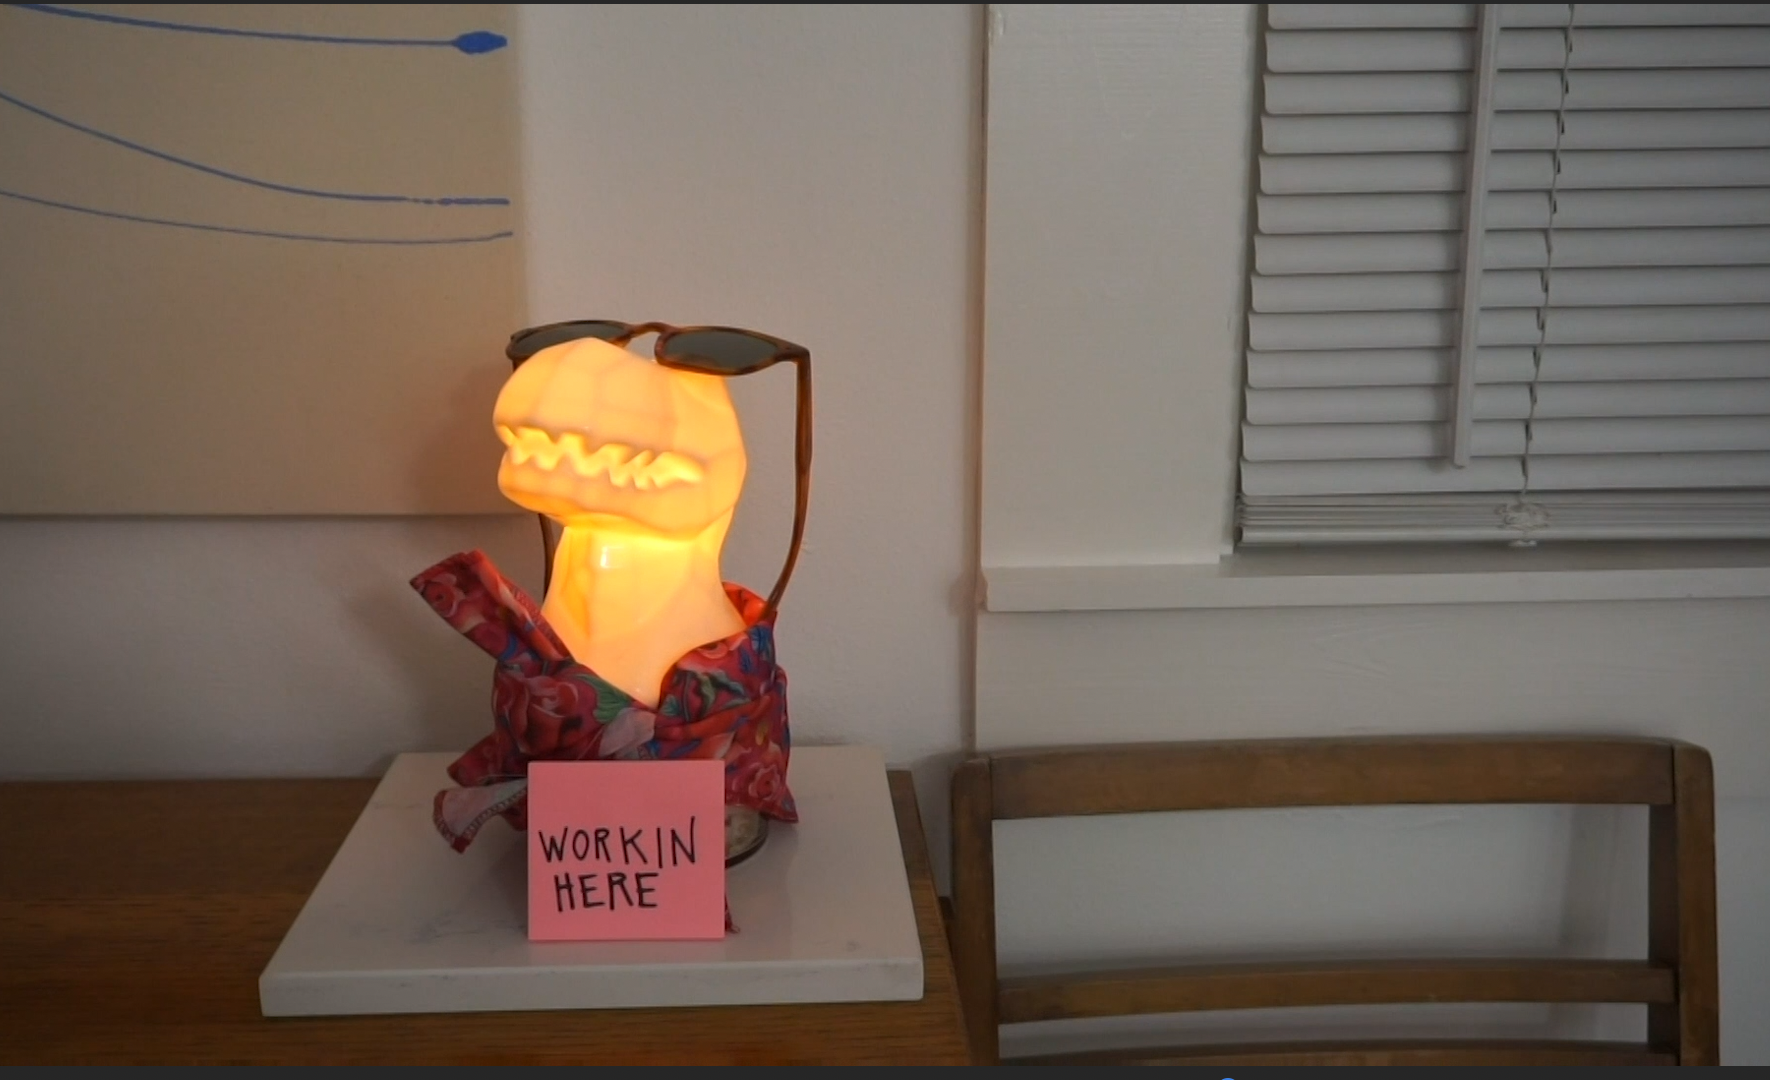
THE NOVELTY BACKGROUND
THE WINDOW SHOT
THE FAN SHOT
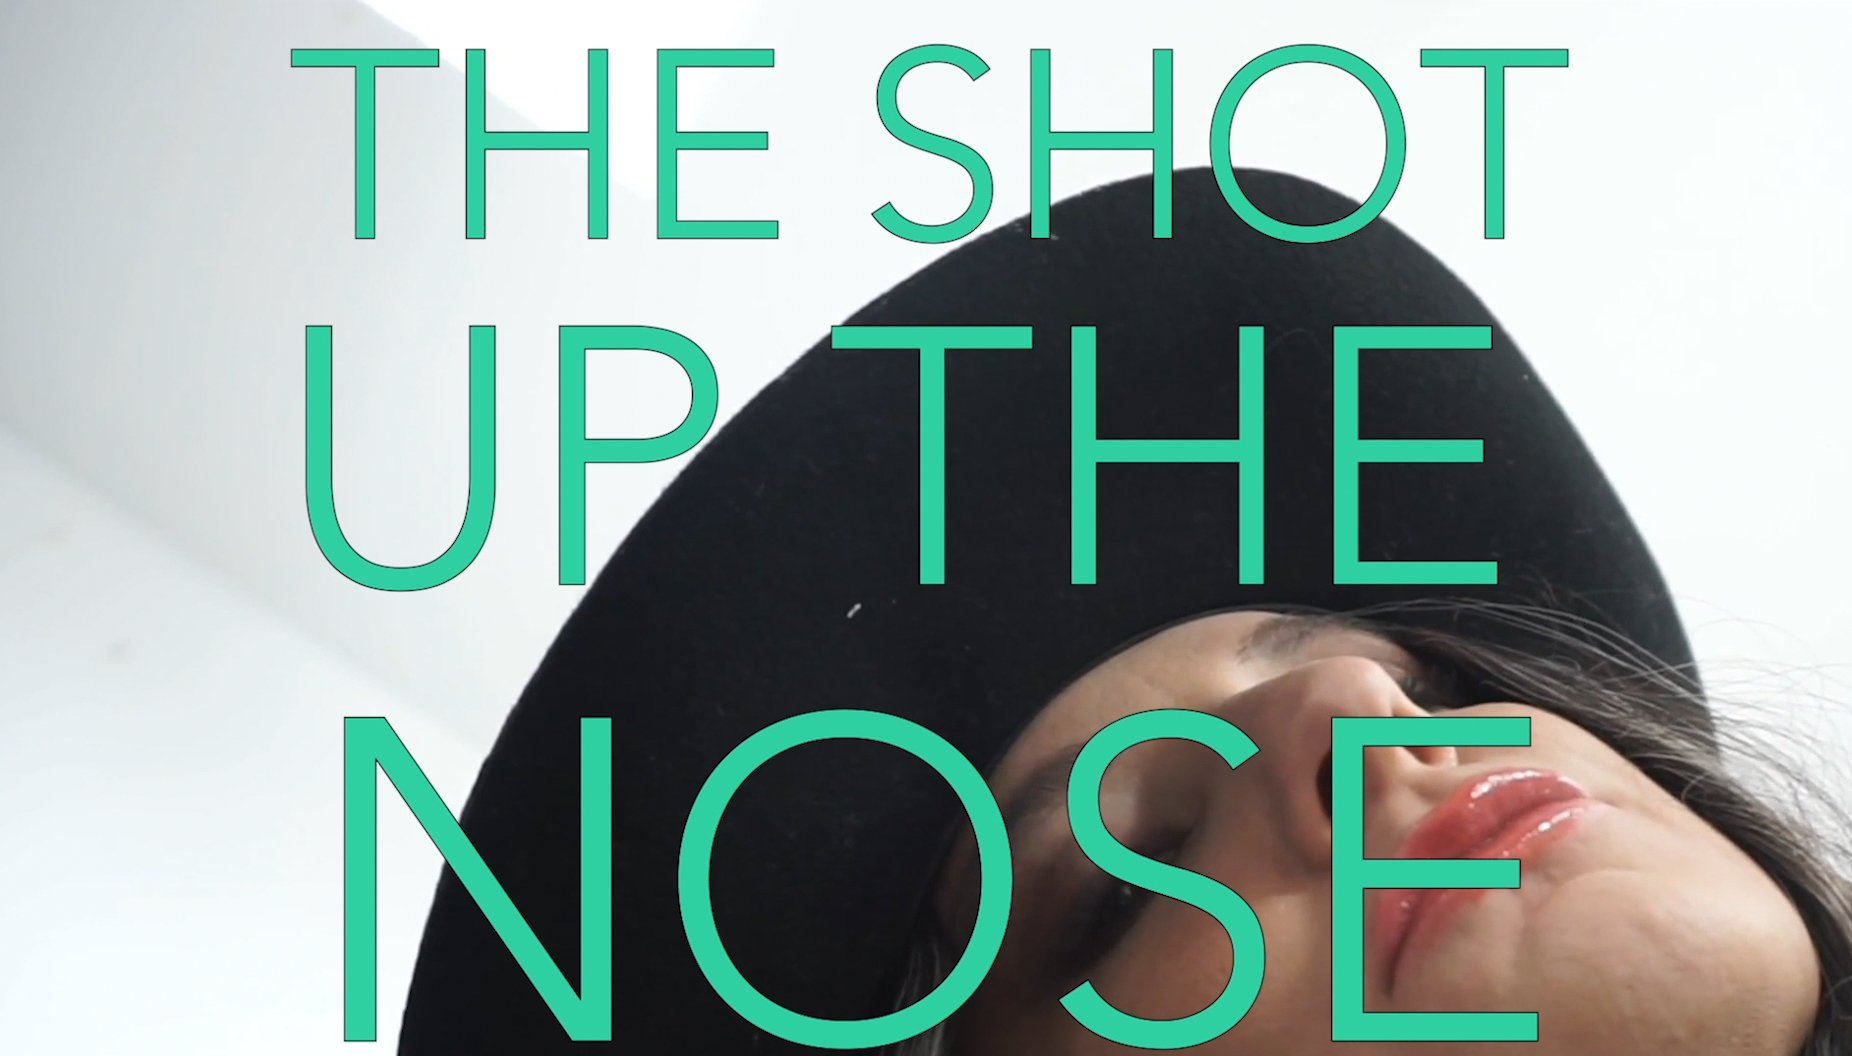
THE SHOT UP THE NOSE
THE SPINNING
This is slightly a lie for the classes I am teaching right now. I do actually encourage some backgrounds and will actually promote it a few weeks in class. (A few assignments are going to incorporate it.)
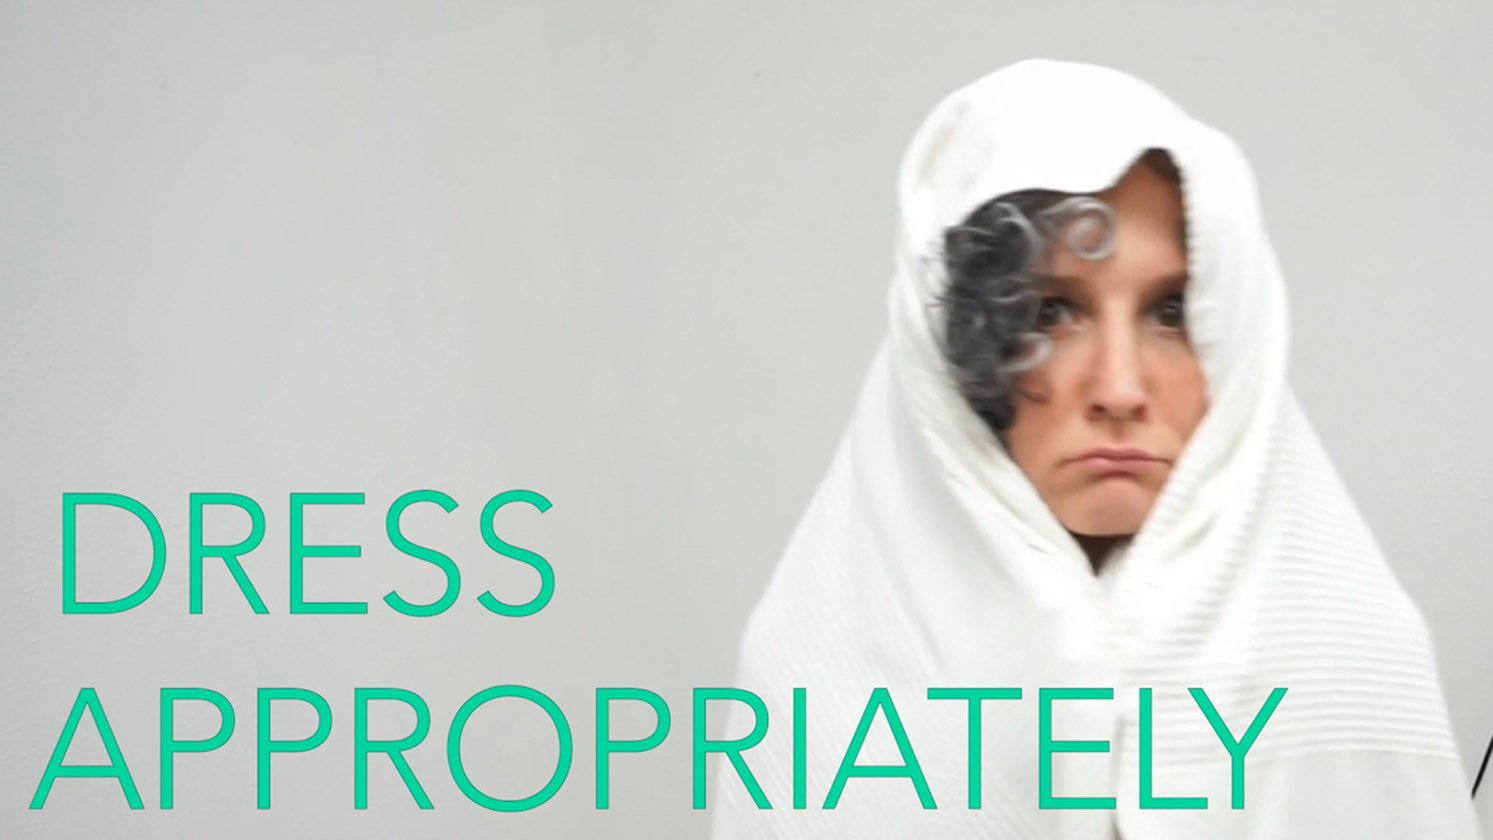
DRESS APPROPRIATELY
AND BEHAVE APPROPRIATELY
For my classes, I don’t care what you wear. As long you’re comfortable going out in public like that. For those of us who were already working and video conferencing from home know most closely about the mental (and physical transition) you go from when you between professional and home settings. I realized over the past nine months this is harder for some than others.
IF REQUESTED- PUT ON THAT VIDEO
Trust me when I say, no one likes to put their videos on, especially at first. But luckily, right now, most of us don't need to wear a mask when meeting with others online. When I’m teaching, it's nice to see faces looking back at me, even if it's just the self-portraits you drew. Otherwise, it feels like I’m just talking to office equipment.
USE THE CHAT FUNCTION AS DIRECTED
It can be really helpful but ….. it can also be a little distracting.
Currently, my chat meeting guidelines are as follows: 1. Please use this meeting chat to report personal technical issues or if you need to momentarily excuse yourself from the meeting ONLY. 2. Please share related Material you’d like to share in the Meetings Channel. 3. You are welcome to have text chat’s in the “Open Studio Channel” or in your private Microsoft Account. During full class discussion4.If you have a question or would like to comment, please use the “raise hand” button (especially when its open group discussions)
GRAB SOME HEADPHONES (WITH A MIC)
Background noise and echoes can happen when settings aren’t set up correctly. It’s common. Headphones generally eliminate these problems.
A noise-canceling headset is also great. For my students in studio courses, I also require them to purchase a headphone extension cable if their headphones plugin. (You can get an extension cable for about $3.) This way they can still be connected to a group while allowing more range while drawing or painting. Well, actually, it’s the easiest way to fix these problems, it doesn’t actually solve the actual root of the problem. (Which, I’ve learned could be one of many.)
MUTE when you're not talking and UNMUTE when you are. Don’t worry it happens to all of us at one point.
Outside of the curious student or the chatty coworker, our distractions were once minimized by the spaces in which we gathered. But since a lot of us are working or learning remotely let's go over some basic solutions together.
And keep changing them until something works.
Maybe agree upon a SECRET SIGNAL
STABILIZE IT
CHANGE YOUR ANGLE
GET A COMPUTER RISER or a
STACK OF BOOKS
Do you live with other people? Most people do. Make others in your household aware of the times you are working or studying and ask them politely to support you by giving you space and privacy. No interruptions, or looking over your shoulder. (like you’re in the classroom at school!) My work time varies so much, I like signs and notes.
CREATE BOUNDARIES it’s okay to ask for them and create them at home for your class! If it helps, feel free to let your family know that it is a requirement.
or shift your angle so your bright light isn’t coming from directly behind you.
I suggest LED, DAYLIGHT lightbulbs, as suggested in my teacher’s tutorial here. What I really mean here, is that you should figure it out, with whatever system works best for you and is at your disposal.
secretly pet them under your desk .
While I personally love to see all your pets and family it makes it hard for me to teach and hard for others to learn.
Communicate. If working from home, a lot of us are around who we live with all the time. Communication is key to making your home/work/school life work.
Because that might be easier?
If you are in a situation where you must share a space, as many of us are, try using the blur feature. Even though you may be on mute and you’ve definitely learned how to tune some people out….they can still be very distracting to everyone else in your call. And if that blur feature still doesn’t work, shift your shot until they are out of view.
Most importantly, if you don’t know what’s expected of you in your meeting, just ask. It may be a little while yet until things are back to normal. So in the meantime, let’s make our lives a little easier for ourselves and everyone else along the way.
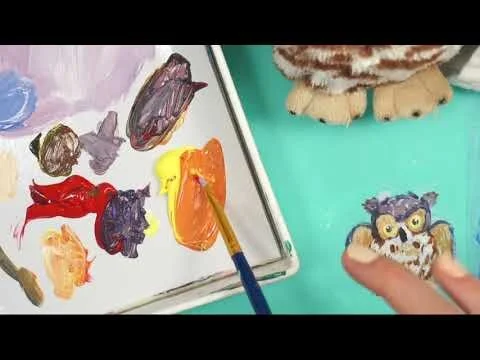
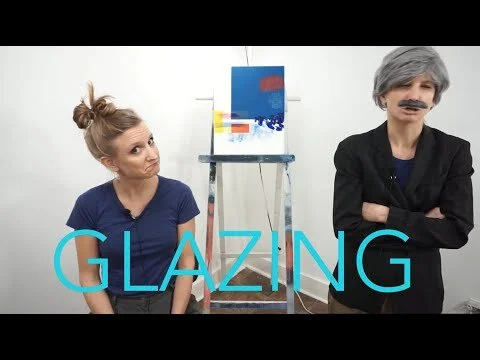
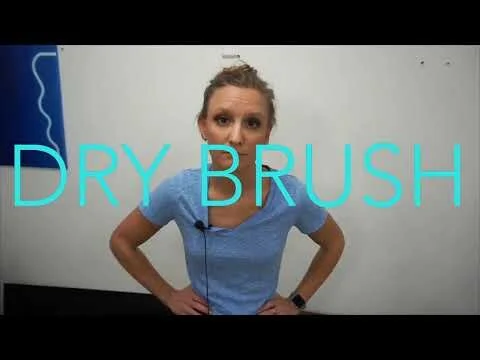
Painting & Drawing
All will be under 20 min
No talking here, just doing
Sped Up
For my students, yes. But teachers of painting and drawing: this playlist may be your jam.
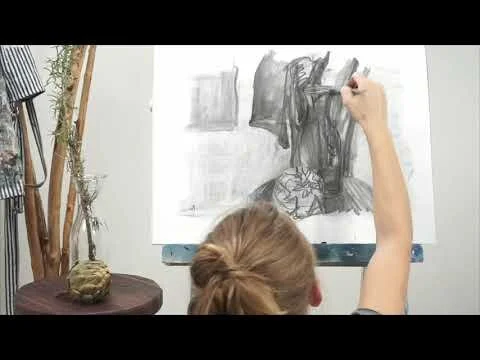
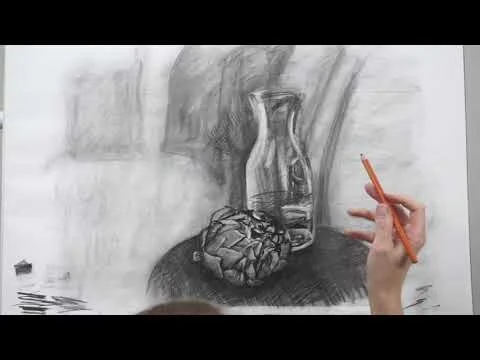
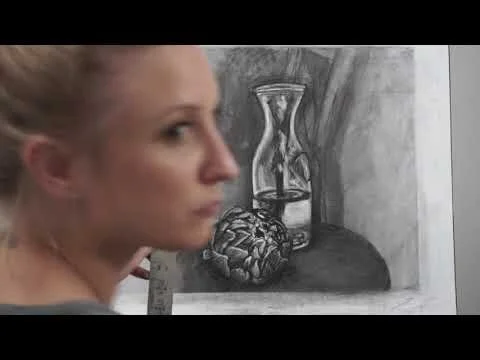
These are in-class demonstrations that I want to show students, that they can refer to again and again. As some students still struggle for the best internet connection, these have been a go-to guarantee on something they can follow up on.
Introductory or Intermediate University Level
Google Arts and culture allows its users to browse more than 70,000 classical artworks that are present in over 1000 museums around the world. (for free!)
This video gives my students (and everyone else too! ) a brief introduction to google’s art and culture collections. This video focuses specifically on the virtual tours available in art museums using google’s street view. (now gallery view….) Additionally, I share a few main tips on how to get around.
The online gallery collections are available just with your browser. But the app version is also available with a ton of different extra features, some of which are re-donk-ulous.
Literally, the title says it all.
You know those videos that are boring and long and not the information you are looking for? This playlist is not that. These videos are meant to be slightly entertaining introductions to a very specific topic. Short and to the point.
These are not the only options. But they seem to be the most affordable, most accessible, and most likely to change how your online classes go. In about three short minutes, I explain the 5 main ones that I think will help. Please note that I am offering up the lowest options (that I found) that also seem to be the most accessible. Most of my links are to box stores or amazon but I would always encourage individuals to buy locally whenever possible.
If you have a suggestion for any other specific items with better quality I would love to hear from you! I will be taking note of all suggestions for all price levels for all related items.
An LED DAYLIGHT lightbulb starting at $1.74
But do not be fooled when buying these bulbs: Daylight is not the same as bright white. 5000K is your jam.
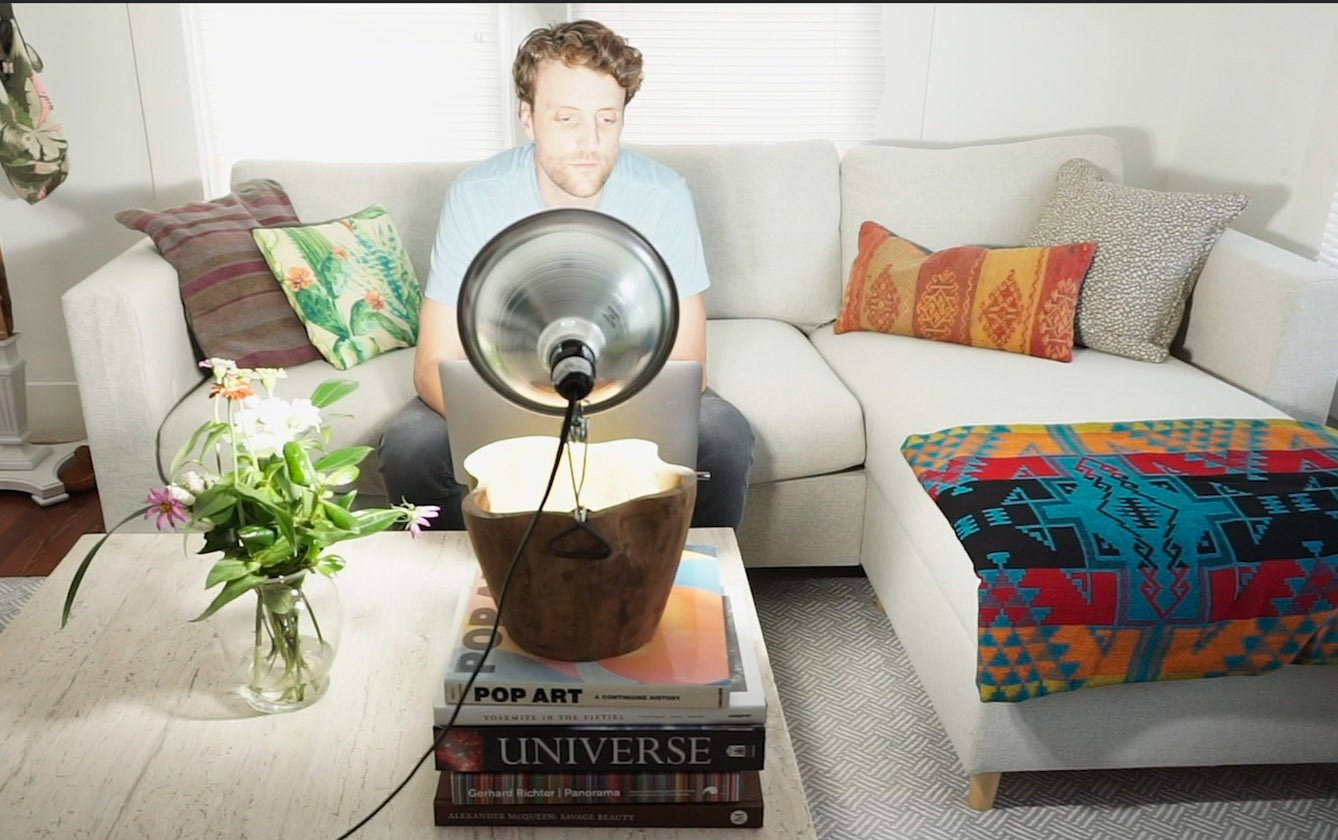
A CLAMP LIGHT, starting at $7. The ones I use, start at $8.50
Please note the wattage of any light you buy, to ensure you stay under both the wattage of the light and socket. Careful ya’ll this metal does get hot when it's on for a while, even w/LED.
I use small binder clips to keep the material away from the light. Please note these are not designed or intended to sustain intense heat or long use times! Use lower heat producing bulbs like LED bulbs only.
Are these a fire hazard? YES. However, burning candles is also a fire hazard. I won’t deny myself the sweet smells of the ocean mixed with cedar and lavender. SO if that helps: perhaps think of it the same way. Don’t leave it unattended and use it at your own risk. Always know where the fire extinguisher is located wherever you are, no matter what.
Update Jan. 2021. I updated my diffuser socks without the elastic, with a string and sewing machine. I’ve come up with a few alternatives that you can use made with PARCHMENT PAPER! It’s heat resistant and you can diffuse light as much as you want. Make sure if you buy this from the grocery store you buy the parchment paper that logo free. Multiple layers of parchment = more diffusing.
WEBCAM | WEBCAM ARM
The one I use in the video is $35. It’s decent for what it needs to be used for but it’s not great. You can definitely find better ones. Make me a suggestion to add to my list!
HEADPHONES/MIC (for you and your students) Make some suggestions!
I have only owned all of these things for a short time so I cannot say how long they’ll last. I am not an expert in any of these areas, I am only offering you one of the many solutions I have come up with.
Spend some time finding a good place to set up where you will take pictures throughout the semester.
Things to think about when finding a spot to photograph your work:
Is it easy to get to?
How is the lighting? Do you need to add light?
Where will you place it while you photograph it? If you don’t have a tripod, consider hanging your work on a wall, leaning it vertically, or placing it on an easel. Avoid taking the photo from above, as your body can often cause small but bothersome shadows.
Use a tripod. (if possible) If you are documenting a piece of paper, take a picture of your work while still attached to a board or a flat surface to keep your image as accurate as possible.
Use a tripod. (if possible) If you are documenting a piece of paper, take a picture of your work while still attached to a board or a flat surface to keep your image as accurate as possible.
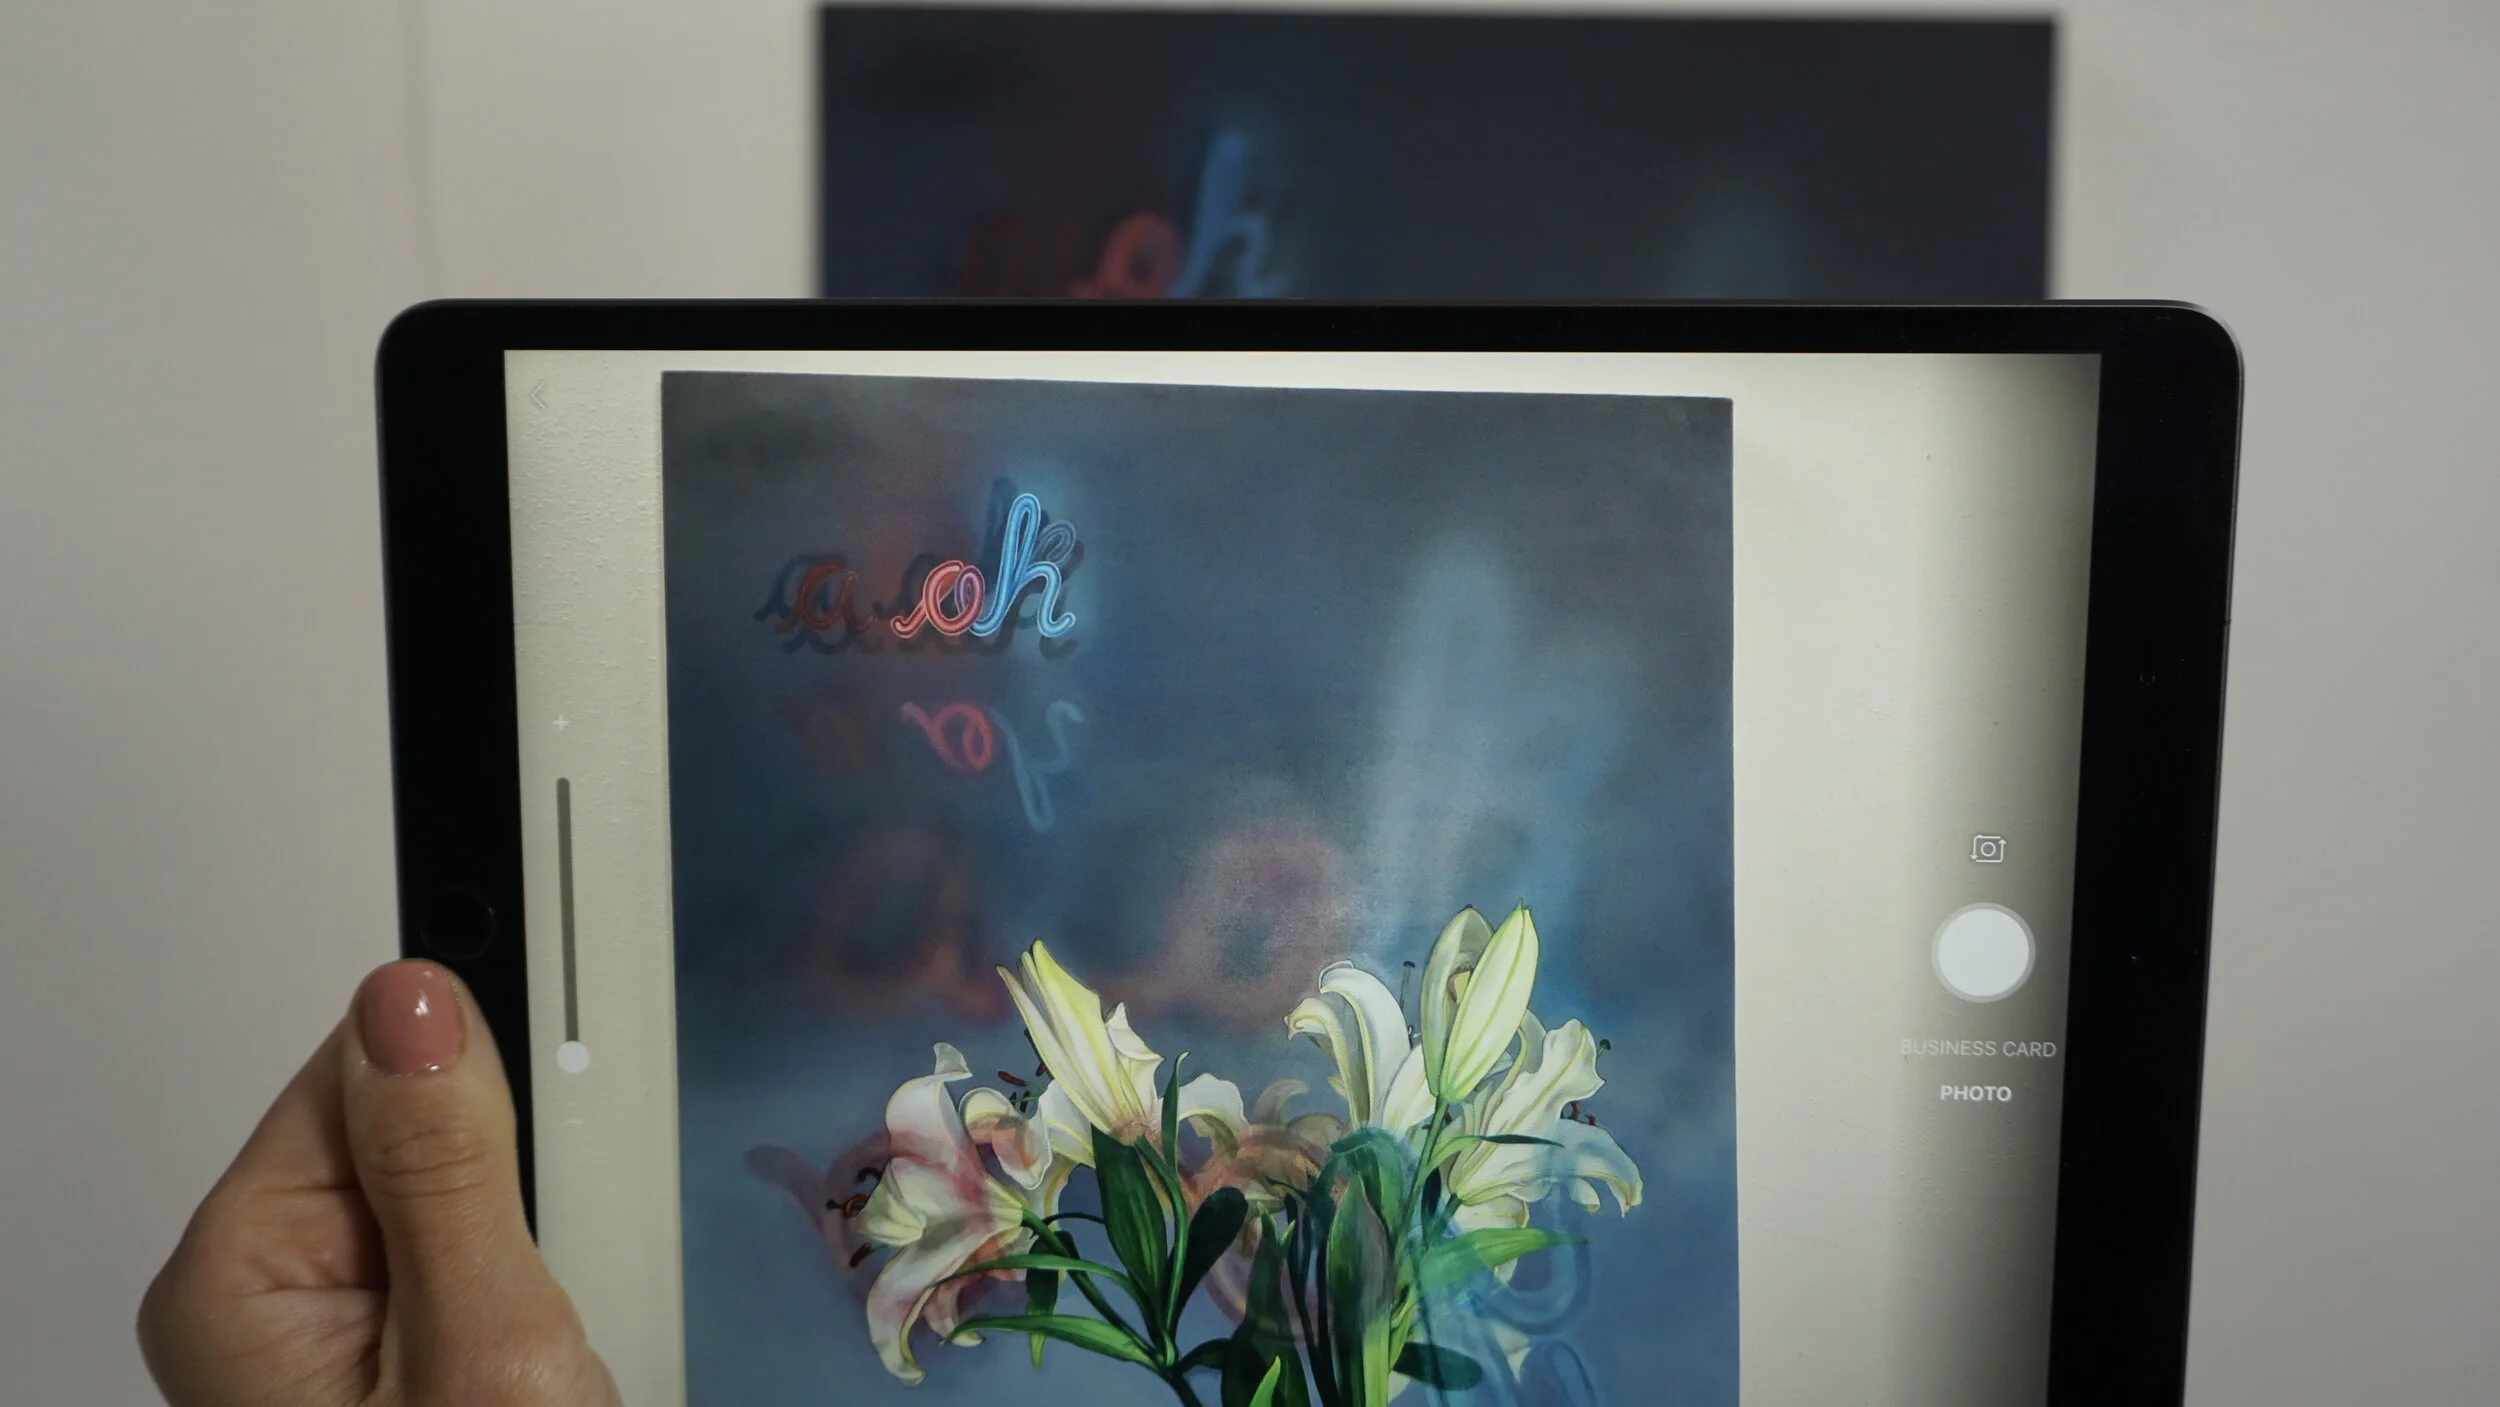
Distance teaching and learning means adapting to what’s available for you to use. I want my students to focus on the specific topics of the course I’m teaching and right now that’s painting and drawing. But walking around the classroom and sharing the works in progress was always a big part of these classes and I want to keep it that way with our online classes.
I don’t want my students to focus on documenting their work and editing the photos, as this can take a lot of time. However, taking photos and documenting properly is important. Poor lighting, bad perspective, and incorrect cropping can incorrectly reflect the actual work created. This video shows users of Microsoft Teams a quick, easy solution to simplify this process as much as possible in order to produce the best results in the shortest amount of time.
If your school or business has a SharePoint Online license, then One Drive is available for free through Microsoft 365 or Office 365. The University of Houston offers this!
If you don’t use Microsoft Teams, find another ‘scan’ app that is free to use, that uses a cloud service and this basic cropping feature. (Adobe scan is good one)
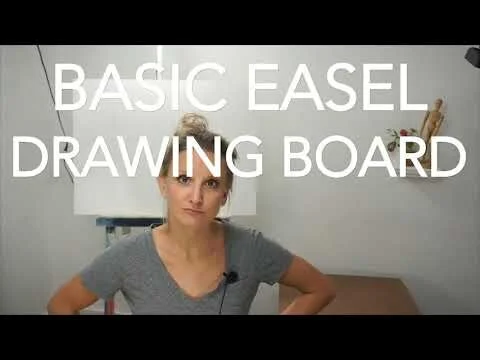
Put it Together
You could make this entire thing with just three items if you had the board cut for you. if you were limited with supplies. Duct tape, masonite board and clips. But you can also make whatever way you choose. In the video I show multiple ways you could put it together.
Duct tape small roll $2.50- $3.50
1/8 in. x 2 ft. x 4 ft. Tempered Hardboard (Actual: 0.115 in. x 23.75 in. x 47.75 in.) $3.50 Choose something similar that’s lightweight and smooth, at least on one side.
Ruler or tape measure
Cut It
Some hardware stores will cut the masonite board for you if you ask. If you don’t have that option, you’ll need a few additional items for cutting the board. Including:
Utility Knife
Metal Ruler
Cutting Board (Or thick flat surface you can cut on)
If you have not ever scored a piece of material before, please watch the next video for tips. *Video Coming soon
Hang It
2” Clips. $0.99 each (or make some holes)
Drill Bit & Drill
Other Tips:
You can always add two giant rubber bands (as seen in image) to keep your board together.
Use sandpaper to sand down any rough edges of the board where it was cut.
***UPDATE: University of Houston Students! You can now check out some supplies at the university library, including a drawing board! Ask me about it if for some reason you didn’t know.
CUTS IN YELLOW